How Long Does It Take To Make Lego Bonsai Tree
 Do you ever wonder how long it takes to create a stunning Lego Bonsai Tree? Well, get ready to embark on a creative journey filled with colorful bricks and intricate design.
In this article, we will guide you through the process, step by step, and reveal the time it takes to craft this botanical masterpiece.
From the initial planning to the final touches, you’ll discover the artistry and patience required to bring this miniature tree to life.
So, grab your bricks and let’s dive in!
Key Takeaways
- Research the cost of LEGO bricks and necessary materials
- Allocate sufficient time to complete the project
- Use curved Lego bricks to create natural curves and bends
- Handle the leaves and flowers with care as they can be fragile
Planning and Preparation
Before you can start building your LEGO bonsai tree, you’ll need to spend some time planning and preparing the materials you’ll need. Cost estimation and time management are crucial aspects of this process.
To begin, you should research the cost of LEGO bricks and other necessary materials. Take into account the size and complexity of the bonsai tree you want to create, as this will influence the overall cost.
Additionally, consider the time you have available to dedicate to this project. Building a LEGO bonsai tree can be a time-consuming endeavor, especially if you want to achieve intricate details. Plan accordingly and allocate sufficient time to complete the project without rushing.
Gathering the Lego Pieces
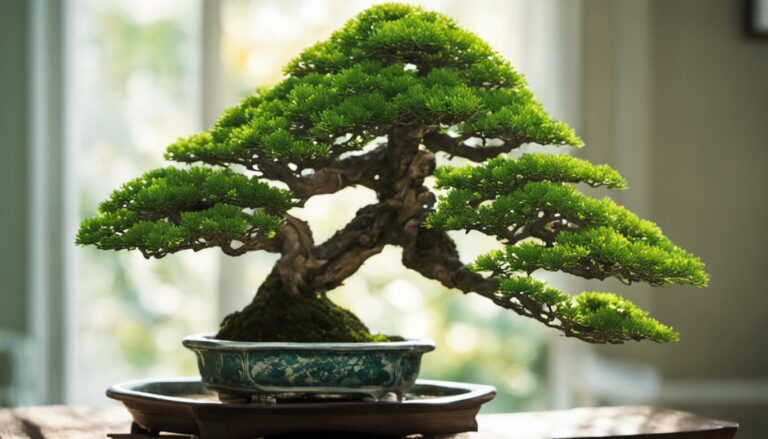
Once you’ve gathered all the Lego pieces, it’s time to start building your bonsai tree. The Lego bonsai tree assembly is a fun and creative process that allows you to bring your own unique design to life.
The first step is to lay out all the pieces and familiarize yourself with the different components. The Lego bonsai tree design includes a sturdy base, a trunk, and various branches and leaves.
As you begin to assemble the tree, follow the instructions carefully, making sure each piece is securely connected. Take your time and enjoy the process, as building a Lego bonsai tree requires patience and attention to detail.
Once completed, you’ll have a beautiful and unique piece of art to display.
Building the Bonsai Trunk and Branches
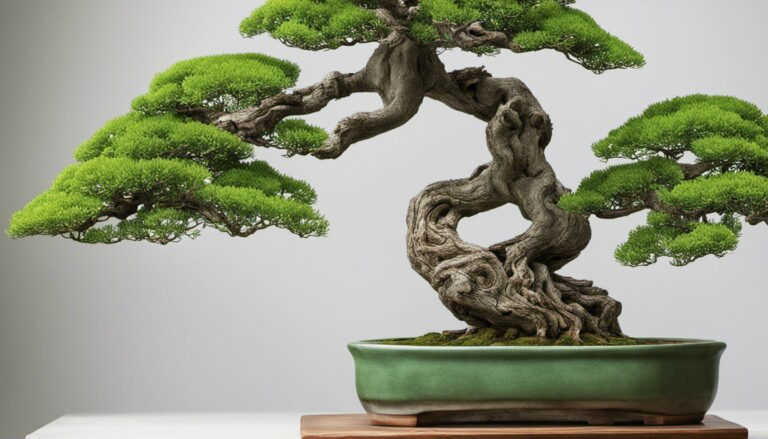
Assembling the trunk and branches is an essential step in creating your unique Lego bonsai tree. To achieve a realistic texture, you can use various techniques while shaping the Lego branches.
One technique involves using curved Lego bricks to create the natural curves and bends found in real tree branches. By carefully arranging these bricks, you can mimic the organic flow of a bonsai tree.
Additionally, you can add smaller details, such as small branches or twigs, by attaching smaller Lego pieces to the main branches. This will help create a more intricate and realistic appearance.
Remember to vary the size and angle of the branches to create a more natural and visually appealing bonsai tree. With patience and attention to detail, you can create a Lego bonsai tree that looks just like the real thing.
Adding the Lego Leaves and Flowers
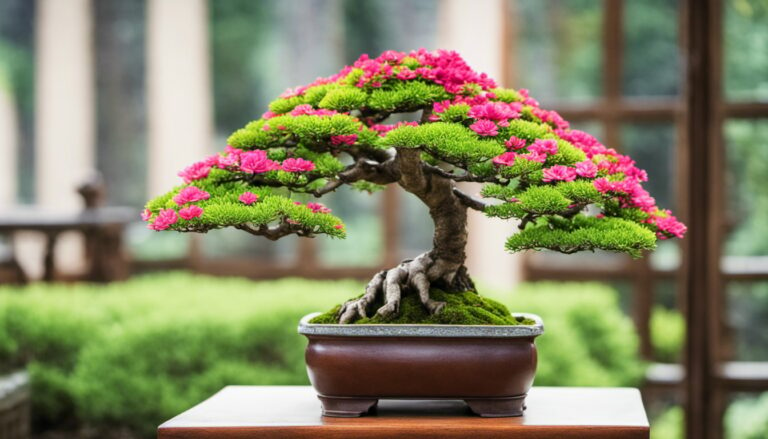
To add the finishing touches, you can attach the colorful Lego leaves and delicate flowers to your creation.
The Lego bonsai tree design allows for endless customization and creativity when it comes to the foliage. The Lego leaves come in various shades of green, allowing you to create a realistic and vibrant canopy for your bonsai tree.
You can arrange the leaves in a way that mimics the organic growth of a real tree, giving your Lego creation a lifelike appearance.
Additionally, you can enhance the beauty of your Lego bonsai tree by adding small Lego flowers to the branches. These tiny blooms add a touch of elegance and charm to your design.
To ensure the longevity of your Lego bonsai tree, it is important to handle the leaves and flowers with care, as they can be fragile.
Finishing Touches and Displaying the Lego Bonsai Tree
When displaying your Lego creation, consider placing it in a well-lit area to highlight the intricate details and vibrant colors of the foliage and blooms. Here are some displaying techniques and maintenance tips to ensure your Lego bonsai tree looks its best:
- Choose a spot with ample natural light or use strategic lighting to enhance the visual appeal.
- Soft, diffused lighting can create a gentle ambiance, while spotlighting can draw attention to specific features.
- Experiment with different angles and intensities to find the best lighting setup.
Use a display stand or pedestal to elevate the Lego bonsai tree and give it a sense of importance.
- Opt for a stand that complements the style and color scheme of your creation.
- Consider rotating the tree periodically to prevent any fading or discoloration caused by uneven exposure to light.
Conclusion
Congratulations! You’ve reached the end of your Lego bonsai tree journey. By now, you’ve spent some quality time planning, gathering pieces, and building the trunk and branches.
With careful precision, you added the Lego leaves and flowers, bringing your tree to life. Finally, you put the finishing touches on your masterpiece and proudly displayed it.
The process may have taken some time, but the joy and satisfaction you’ve gained from creating this unique piece of art are truly priceless.